How to use the Distribution List Manager in SmartCloud Control Panel
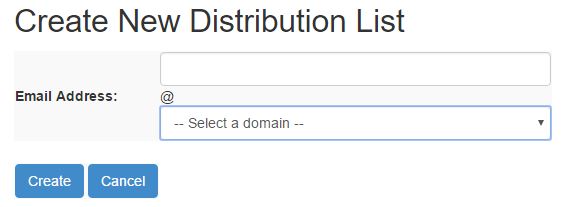
Create New Distribution List
To create a new Distribution List, Simply Type the Distribution List name, select the domain for that Distribution List. Once you’re done click the Create button.
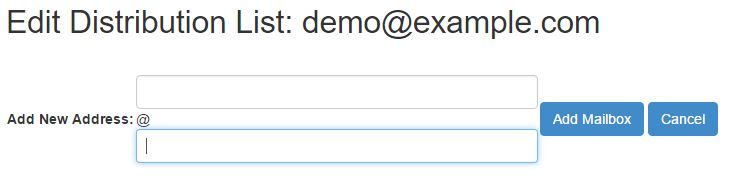
Edit an existing Distribution List
Find the Distribution List you want to modify and click the Edit button on the side. From the Distribution List Editor you can add or remove Email Address to the Distribution List. You won’t be able to change the name of the Distribution List.
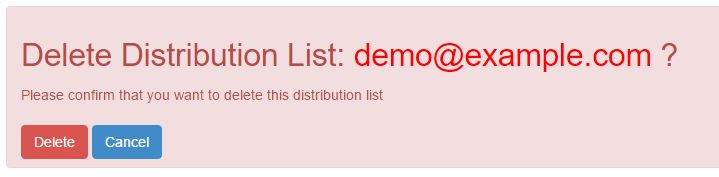
Delete an existing Distribution List
Find the Distribution List you want to delete and click the Delete button on the side. Confirm that you want to the delete the Distribution List by clicking Delete, if you don’t want to delete the Distribution List click Cancel